So I when decided to make my own, I was so excited, especially when I realised I had everything I needed all ready at home.
So if you want to have a go at making your very own cream highlighter, here are my step by step guide.
What you will need:
An old or at end of use powder highlighter (I used my L’Oréal powder palette)
Body Lotion ( I used Jack Wills English Velvet lotion, it smells amazing!)
A bowl
A fork and a spoon.
What I used.
Step One– using your fork, scrape the contents of the powder highlighter in the bowl.
Step 0ne.
Step Two-squeeze some lotion in the bowl with powder and start to mix, you will need to keep adding more lotion as you go until you create the right consistency.
Step two.
Step Three– Mash up the highlighter until all of the lumps have gone and it’s now a smooth paste.
Step Three
Step Four- using a makeup with clean the original powder box, so you can fill with the new cream highlighter.
Step four
Step Five– using the other end of either you fork or spoon scrape and smooth the mixture into the original pallet.
Step five
And there you have it, your very own cream highlighter, that’s smooth and smells great!
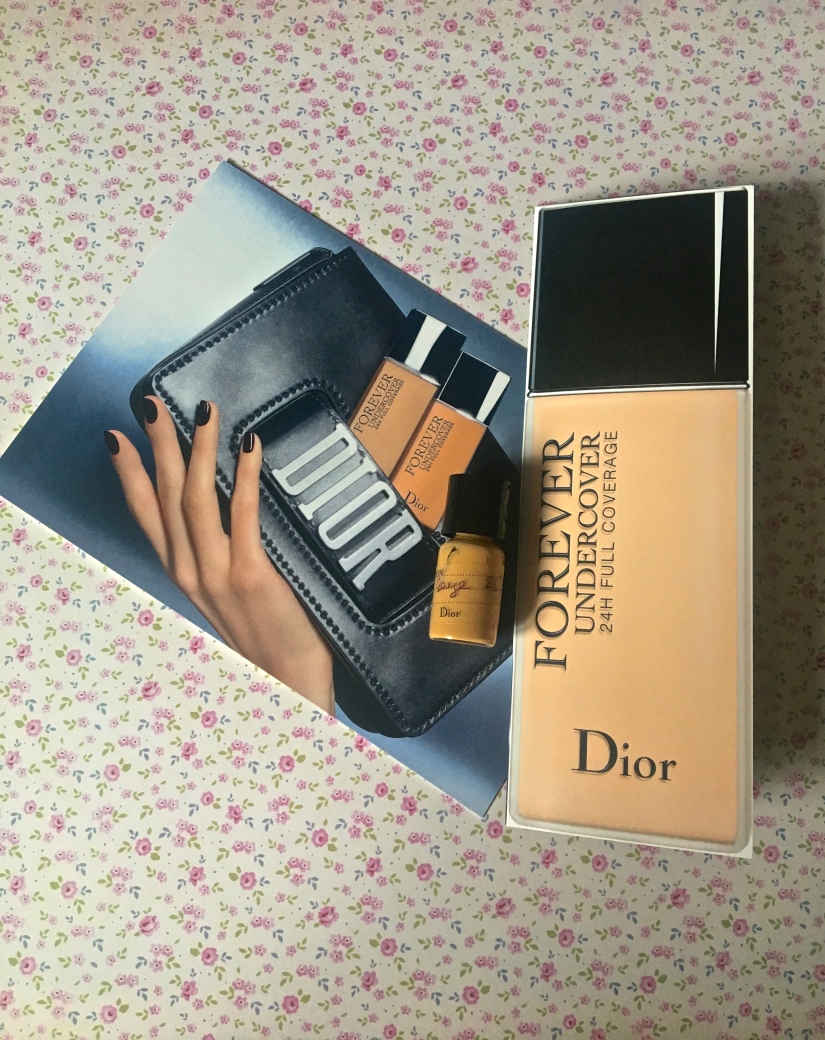
I was very excited when this arrived in the post, I love trying new products out. Thank’s to the Glamour Beauty Club, I was lucky enough to be selected.
The aim of this Dior foundation, is that it is to last through out the day to the evening without needing any touch ups, with a natural matte finish.
The foundation comes in a wide range of shades so you can find your perfect match.
So I prepped my skin and began applying, like I would with any other foundation. I found it quite liquified, watery even, but it does blend in really well, it gives your skin a dewy, glowy tone, (which I quite like). A little goes a long way.
The Finished Look.
The only thing I can complain about is you do need to use a concealer or another foundation to cover up blemishes or dark patches on your skin. It’s just not heavy enough to be used on its own, but once I applied and everything was set, it did last me through out the day which I think is Dior’s aim.
Score: 6/10.
I hope you enjoyed this post, If you have any products you think are worth a try then comment below!
I recently went to my local Primark, saw the make-up stand and instantly had the urge to purchase. I have never tried using there make-up before, so I was eagerly excited to try it out.
What I brought from Primark.
The first thing that caught my eye was the packaging, I thought this looks very familiar, then it came to me, the contour and hight kit looks a lot like Kim Kardashian’s make-up brand packaging. Also the lip kits look just like Kylie Jenner’s Lip Kits, but of course being Primark, the price is extremely different, which I’m not going to complain about! The Contour and Highlight kit was £8 and the lip kit was £3!
I adore the make-up I already have, I couldn’t wait to add it to my collection and try it out!
So this is step by step what I did, used whilst incorporating the primark make-up:
Step one– sheet face mask.(This one I had in the cupboard for a while, from TKMAX!)
Step seven –use Gosh 002 again all over face Step eight- use primark higlter stick under eyes in a triangle shape towards the nose and sweep the stick on your temple on forehead, use the sponge end of brush the kit came with to blend Step eight-use fenty beauty foundation in shade 150 and blend into the rest of face, use extra foundation to cover any blemishes by dabbing Step nine- use primark nude kit contour stick, swipe above jaw line, use the sponge to blend then brush over with the other end of brush Step ten-add blush to apples of cheeks, I use benefit cheek parade pallet, rockateur , using same pallet hoola lite on jaw line Step eleven-using the primark fan highlighter brush, sweep huda beauty 3d pallet Seychelles across cheek to temple, using same brush blend Tahiti under cheek.
Step eleven
Step twelve- use primark nude lip kit in mesmerise, line lips using lipliner in kit and contour lips then apply the gloss, in center of lips sweep kylie Jenner gloss that use on eyes and blend.
This is the finished look
Conclusion:
I loved the brow highlighter, the contour stick and the brush! but not sure about the highlighter stick, not sure if it was strong enough, that’s why I had to add my Huda Beauty highlighter. The prime spray is defiantly something that i’m going to continue to use, it was none greasy and oily on my skin, I most of all it was light, I find most primers quite heavy, thick and for £2 you just cannot go wrong!
I hope to do a blog on this post very soon, if you have any tips on using any of these products I would love to hear them!
I hope you have enjoyed this post, I absolutely love trying new products and looks!